Making Bacon. What's not to love about those two words? Bacon is one of our favorite foods. I'm not sure if I could survive TS hitting TF without bacon. I've canned bacon that I bought from the store just in case but somehow that's just not enough. Our ancestors ate bacon. They cured and smoked bacon so why can't we?
We CAN! Plus, its not hard to do either. Its so simple that Its something even people in apartments can do. It only takes a week or so and its actually not very labor intensive. We butcher our own hogs but if you don't have a hog you can ask the local butcher to sell you pork bellies (or middling meat or side meat which is what we call it in the south) You can also use hog jowls which make a very good bacon.
When you get your meat you will see that its soft and fatty with lean meat running through it. That's the nature of bacon. Once you're finished with it and slice it you will recognize the bacon you are used to getting from the store.
There are many recipes online for curing bacon. Some of them add all kinds of different seasonings and spices but I use a basic dry cure recipe. The cure will be washed off when you are through so any added spices would also be removed. Instead, I prefer to cure the bacon and then BEFORE smoking I add a dry rub to the surface. If you want to choose a recipe other then the one I use that is perfectly fine.
For this recipe, you will need to use pink salt or sodium nitrite. Yes, I know all about nitrites and that there are people who avoid them. I choose to use it and I will not get into a disagreement with those people who don't. If measured properly and used as directed it serves a function in preserving meat. It preserves color but also prevents rancidity. Plus it prevents bacteria like botulism from tainting the meat. I feel that its benefits outweigh the negatives. If you choose not to use it that is fine BUT your bacon will not taste like bacon. It will taste more like fatback and it will look more grey then pink. You can order pink curing salt online or sometimes at local stores. I buy mine local at one of the sporting goods stores that sells equipment and supplies for preserving meat.
After you have your curing salt or pink salt, you will measure out enough for your recipe. I usually make a bigger batch of cure and store it, properly labeled, in a gallon jar. The basic cure is nothing more then salt, sugar and curing salt. That's it. Anything else you add is up to you. You will need to mix:
16 ounces (one pound) of non iodized salt
8 ounces of sugar (half the amount of salt)
2 ounces of pink salt
Mix very well being sure the pink salt is evenly distributed. You can double or triple the recipe as long as you keep the ratios correct.
After you get everything mixed then you just need to rub it all over your meat. Shake off the excess and then place your meat in a sealed container. I use two gallon or one gallon sized zipper bags depending on the size of the meat. Place the sealed bag in the refrigerator and leave it there for a week to ten days flipping the meat once a day. It will begin to release liquid as the cure draws moisture from the meat. The texture of the meat will firm up as it cures. Drawing the moisture out of the meat is what helps prevent spoilage. The longer you cure it the drier (and saltier) it becomes and the longer it will last. There are ham slices sold in the grocery store which are packaged and laying out. They are so salty and dry that they don't need refrigeration. To prepare THAT ham it needs to be soaked in water to remove some of the saltiness. By removing the bacon from the cure in less time it won't need to be treated that way but it will need to be frozen to store it.
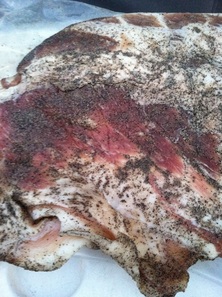
When a week to ten days has gone by then the bacon should be ready. You can leave it longer but remember the longer time will make it taste more salty. Remove the bacon from the refrigerator and rinse off ALL the cure. Pat dry and then place it in a container in the refrigerator. I just use a new, clean zipper bag. Leave it uncovered or open in the refrigerator for 24 hours. This step dries the surface of the meat to prepare it for smoking. If it isn't dried then the smoke doesn't penetrate or stick as well. At this point is when I add some extra spices to the surface of the meat. I sometimes rub black pepper on the surface before I return it to the refrigerator to dry. I have also rubbed on ground red pepper flakes or other dry rubs or leave it just as it Is plain without the added spices. Its ALL good.
The next day the bacon should be firm and dry to the touch. It is cured and ready to slice and eat at this point if you don't want to or have a way to smoke it. Smoking the meat adds flavor or if done over a long length of time adds an extra step of preservation.
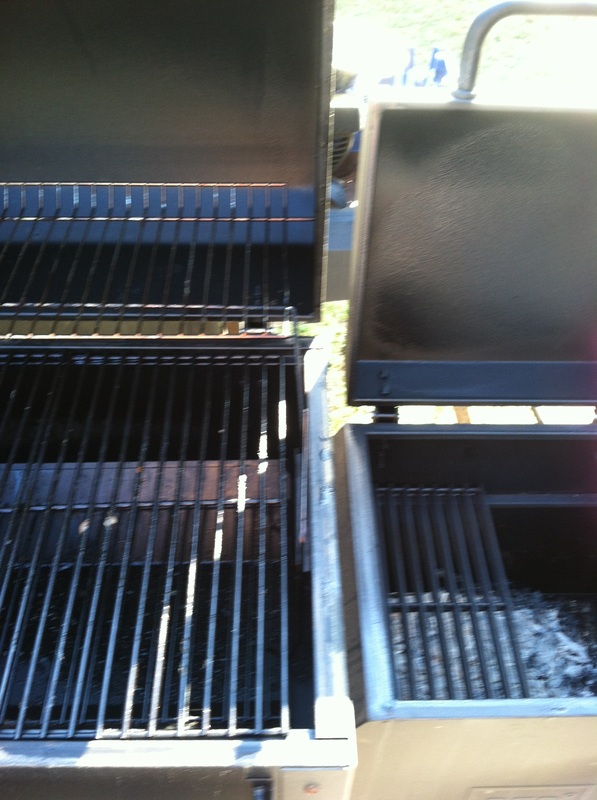
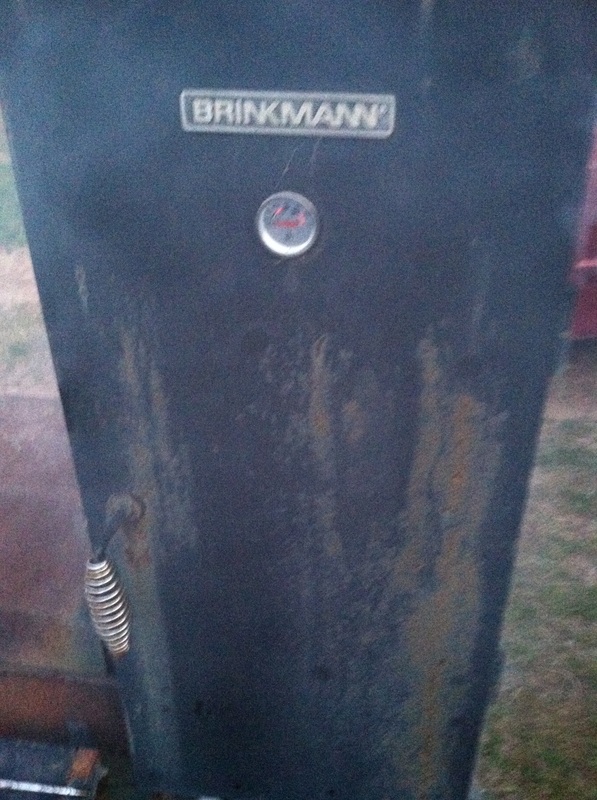
I have several different smokers. They all work the same way. There's a side box for the fire and a chamber for the meat which the smoke flows through. They can be bought already made or they can be homemade. I have one made from an old upright freezer which works perfectly fine. I also have a couple that I bought as well as a small stovetop model. I choose which one to use based on what and how much I'm smoking. For the bacon I used both an old Brinkman upright and a grill type smoker.
The next day the bacon should be firm and dry to the touch. It is cured and ready to slice and eat at this point if you don't want to or have a way to smoke it. Smoking the meat adds flavor or if done over a long length of time adds an extra step of preservation.
I have several different smokers. They all work the same way. There's a side box for the fire and a chamber for the meat which the smoke flows through. They can be bought already made or they can be homemade. I have one made from an old upright freezer which works perfectly fine. I also have a couple that I bought as well as a small stovetop model. I choose which one to use based on what and how much I'm smoking. For the bacon I used both an old Brinkman upright and a grill type smoker.
| 
|
Build a small fire in the side box. It should not be a blazing hot fire because you don't want to cook the meat. It just needs to provide an abundance of smoke. I cold smoke which means the temperatures don't get above 110 degrees. The smoke is drawn through the chamber with the meat inside at the lower temperature over a length of time. The longer the time the more the smoke permeates the meat. Since bacon is a small flat cut of meat I don't smoke it as long as something like a giant ham. Usually I smoke it for only a few hours but sometimes up to 24 hours. If I wanted to preserve the meat better for long term ATSHTF then I would smoke it for days but this bacon will be frozen so I only smoked it for six hours.

| 
|
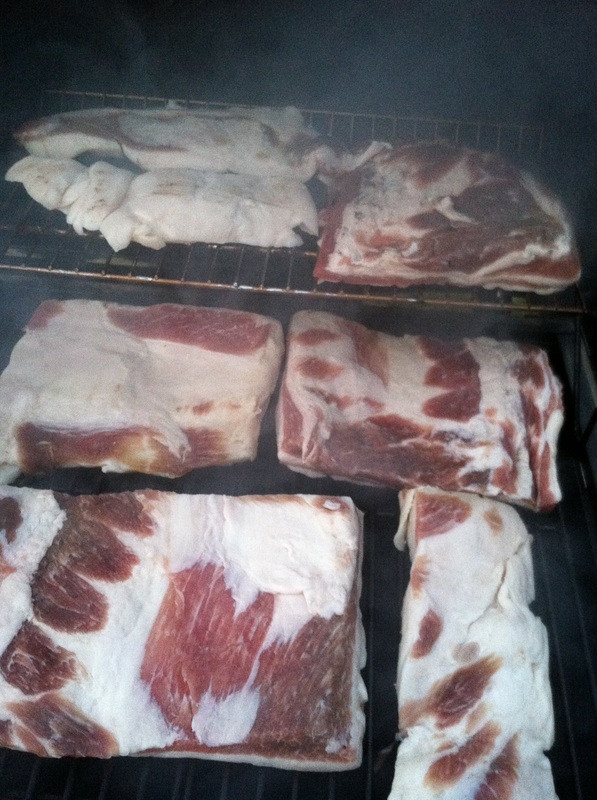
Here is the bacon when it has just Here is the bacon in the smoker box a been added to the grill smoker. It is very difficult to see with all smoke
swirling around it but its in there.
swirling around it but its in there.
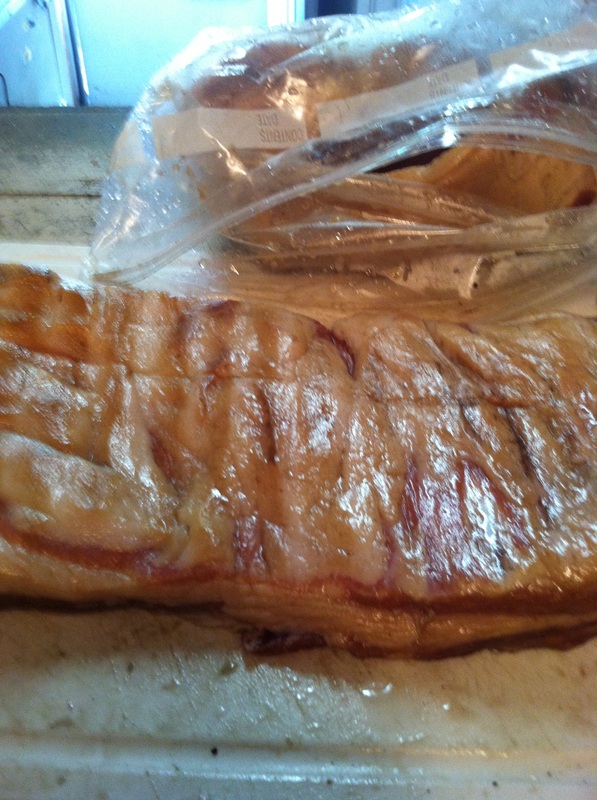
Bacon as it comes out of the smoker. | 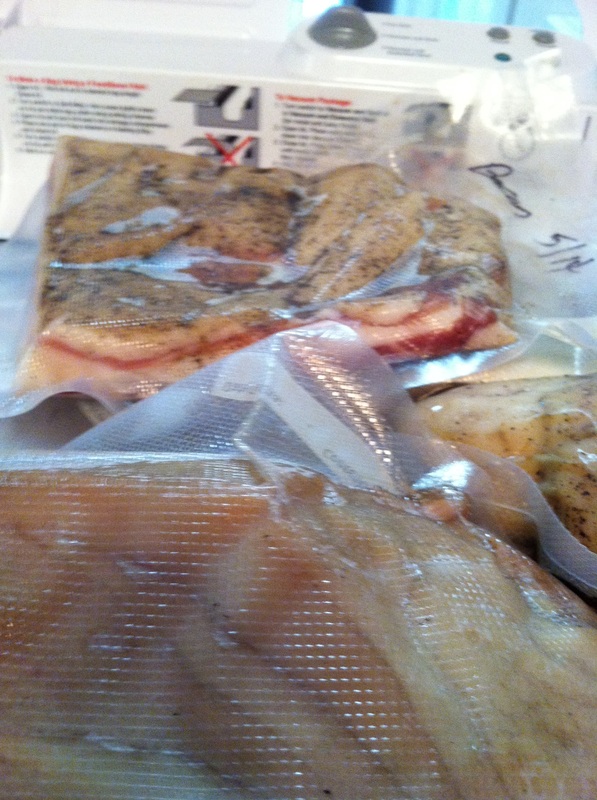
I package my bacon uncut in foodsaver bags in the freezer like this. |
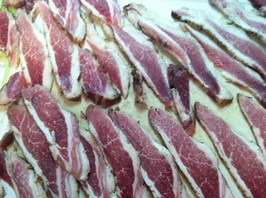
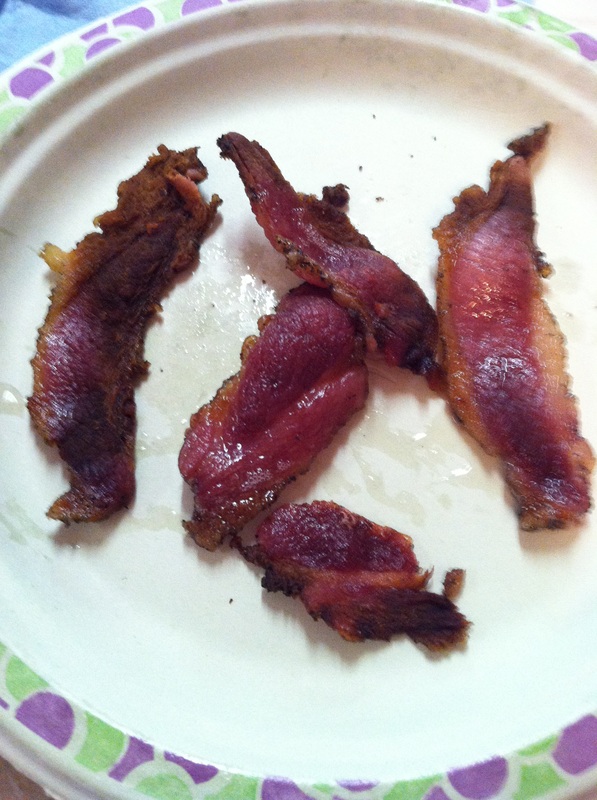
I cut it into small enough portions that we will be able to eat whatever I take out and thaw. It is easier to slice when it is still slightly frozen so I take it out and partially thaw then slice by hand or with a meat slicer for bigger slabs. Since the meat is still partially frozen I often repackage and refreeze the slices since one slab turns out plenty of slices. This bacon is sliced by hand with a knife.
When you cook your home made bacon be sure to watch it closely. It cooks at a lower temperature then store bought and will go from done to burnt in no time.
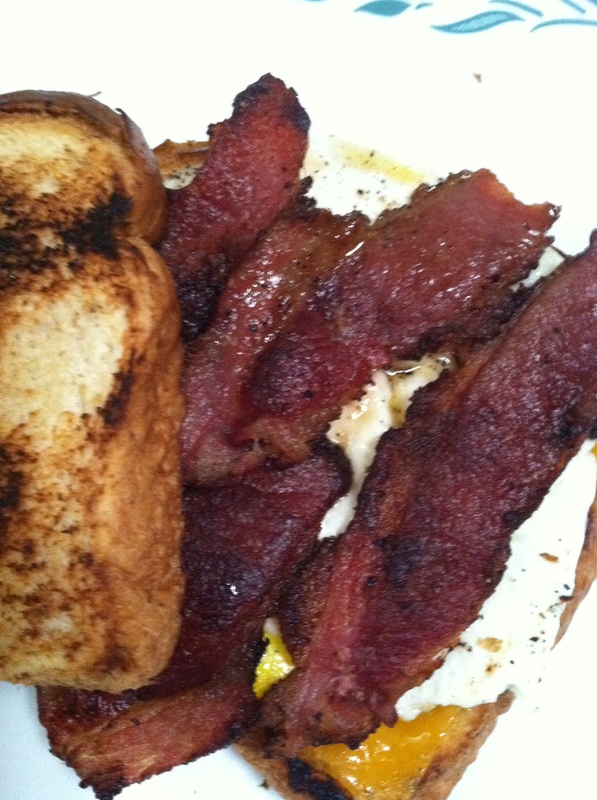
Here is the cooked bacon. And finally a bacon, egg and cheese sandwich ready for breakfast!
Here is the cooked bacon. And finally a bacon, egg and cheese sandwich ready for breakfast!
| 
|
It may sound like too much work to make bacon yourself but surprisingly its not too difficult (if you don't do it in huge amounts like I do). Most of the work is passive. Its either sitting in the refrigerator or the smoker for most of the process. While I'm smoking the meat I usually find other things to do around the farm. I check on the smoker regularly just to make sure the fire keeps going and the temperature stays low but I don't stand over it. Its great to make your own for so many reasons but mostly because curing and smoking are ways of preserving foods that are important to learn. Give it a try and add it to YOUR list of skills. Just think. You get to eat all your experiments while you practice.
Southern Wood Elf
Southern Wood Elf
 RSS Feed